Process Overview
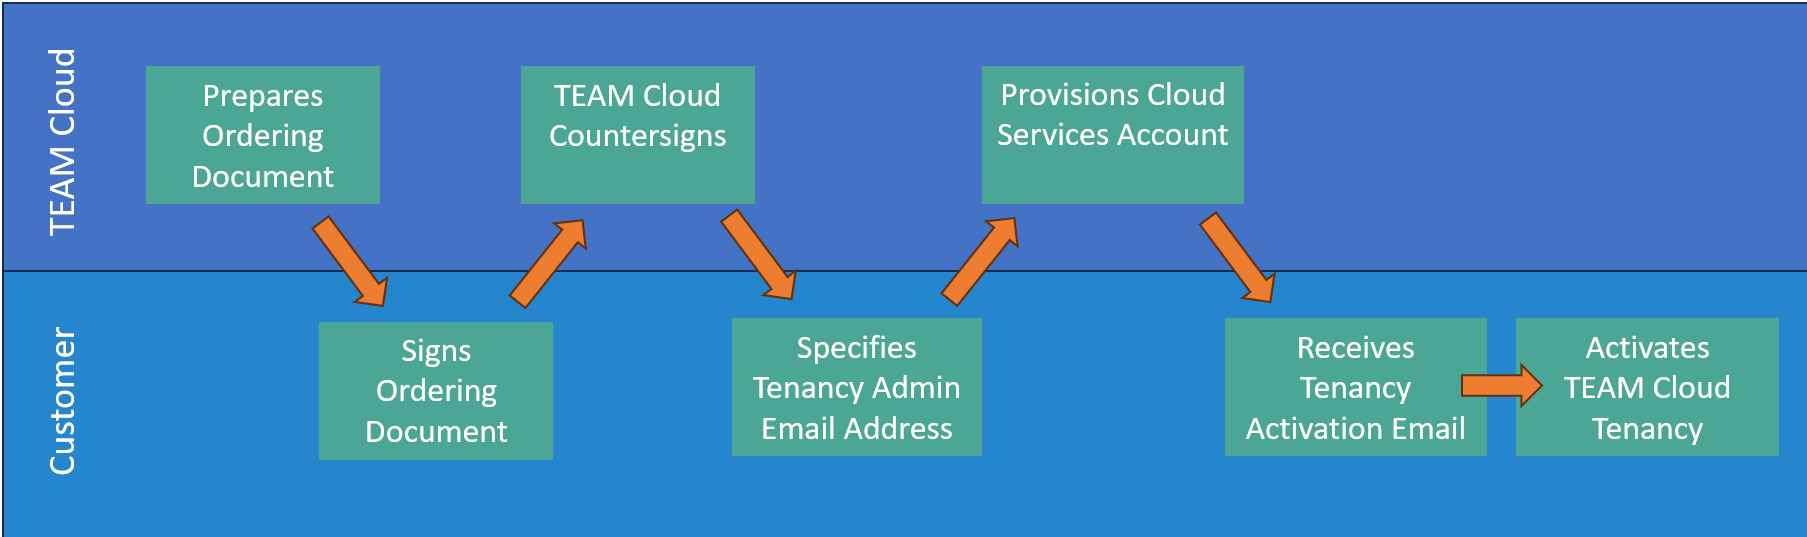
When a TEAM Cloud Sales representative orders TEAM Cloud services on your behalf, you'll receive a welcome email. Anyone who is forwarded the email can perform the activation of your services. To activate your services, you must provide your details and set up your cloud account with TEAM Cloud.
Once the Cloud Services Account is provisioned, the customer will receive a tenancy activation email.
After activation, the tenancy will be live and fully under the customer’s control unless they choose to invite TEAM Cloud for management.
Welcome email: Activation Service - Create a cloud account
Once you receive your Welcome email your first step is to link your service to a cloud account.
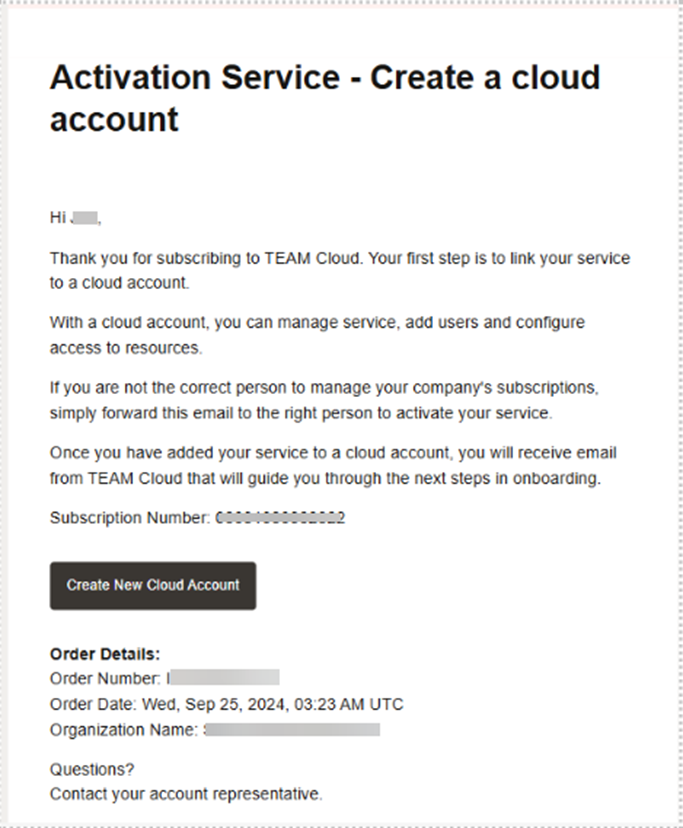
When you sign up for TEAM Cloud, you get both a Cloud Account and a TEAM Cloud Infrastructure Tenancy which are assigned the same names.
With a cloud account you can manage service, add users and configure access to resources.
You can think of the tenancy as a secure and isolated partition within TEAM Cloud where you can create, organise, and administer your cloud resources.
The email, shown here, highlights the order details and subscription number including a link to “Create New Cloud Account” that will guide you through to the next steps in onboarding. Click the Create New Cloud Account link on the email to open the New Cloud Account Information page.
If you are not the correct person to manage your company’s subscriptions, you can simply forward the activation email to the right person to activate the service.
New Cloud Account Information
Your web browser opens with the New Cloud Account Information sign up form, which indicates your subscription information, and also provides a brief explanation of TEAM Cloud regions and cloud accounts.
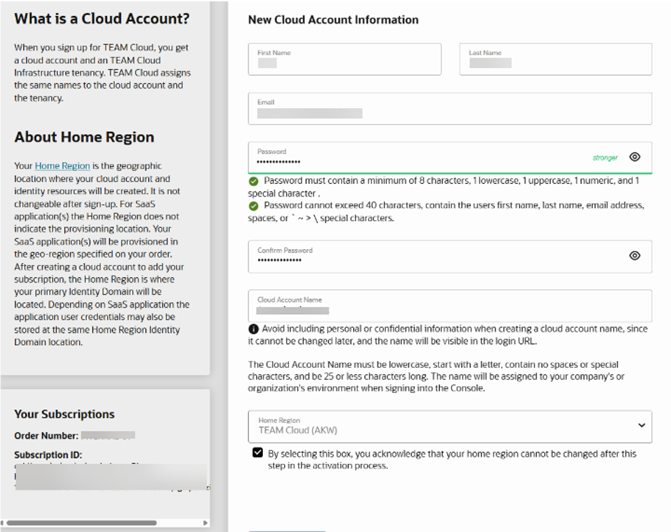
In the New Cloud Account Information page you need to provide the following details:
First Name: Enter the first name for the Cloud Account.
Last Name: Enter the last name for the Cloud Account.
Email: Provide the same email address which you had given to receive the Welcome email. Instructions to log into your new Cloud Account will be sent to this email address.
Password: Enter the password to access the Cloud Account.
(Passwords must contain a minimum of 8 characters, 1 lowercase, 1 uppercase, 1 numeric and 1 special character)
Confirm Password: Re-enter the same password to confirm.
Cloud Account Name: Enter an unique identifier for the Cloud Account.
NOTE: Avoid personal or confidential information when creating a cloud account name and the name will be visible in the login URL. Cloud account and the tenancy are assigned the same name . The tenancy name can be changed post activation from within the Cloud Console.
Home Region: Select the home region for the account.
When you sign up, your tenancy is created in your home region, which is a geographic location where your cloud account and identity resources will be created. TEAM Cloud offer two dedicated regions for High Availability and Disaster Recovery and you can choose from either Auckland West or Auckland North for your home region. The home region is not changeable after activation, but you can subscribe your tenancy to another TEAM Cloud peer region later as you need.
Tenancy Lifecycle Service
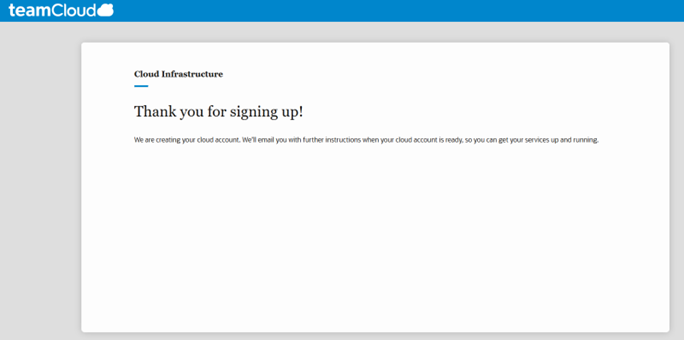
Your TEAM Cloud account and tenancy are created within a couple of minutes, but activation and service provisioning takes some time.
NOTE: Not all services are activated immediately. For instance, some services such as Exadata can take up to 48 hours to activate.
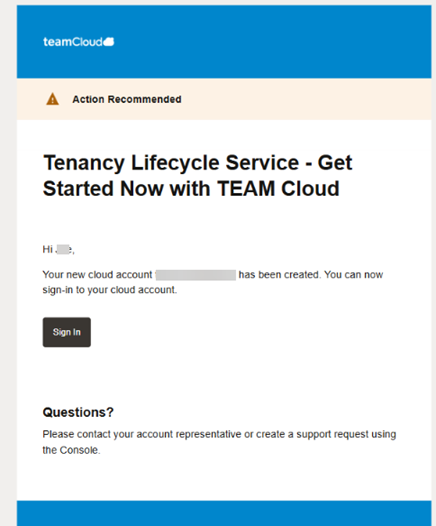
After everything is ready, you'll receive an email with a Sign in button that allows you to sign in directly.
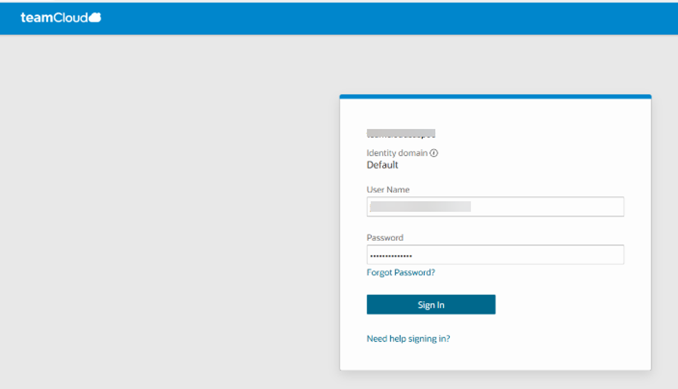
Click the Sign In link which will take you to a page where you enter your cloud account name and click Next. You will now be prompted for the username and password you specified during the registration process.
The first time you log in, you are prompted to enable Multi Factor Authentication (MFA). This cannot be dismissed and is mandatory.
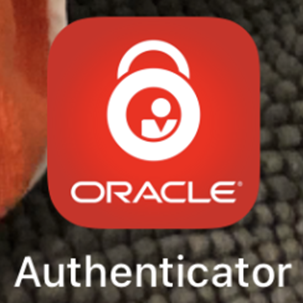
NOTE: Make sure to download the Oracle Mobile Authenticator mobile application from the mobile app store.
For iOS, go to https://www.apple.com/app-store/ .
For Android, go to https://play.google.com/store/apps .
For Windows, go to the Microsoft Store.
- Search for Oracle Mobile Authenticator and then download and install it.
- You should see the OMA app icon on your mobile device.
Enable MFA using the Oracle Mobile Authenticator
The next page prompts you to enable MFA
- Click Enable Secure Verification
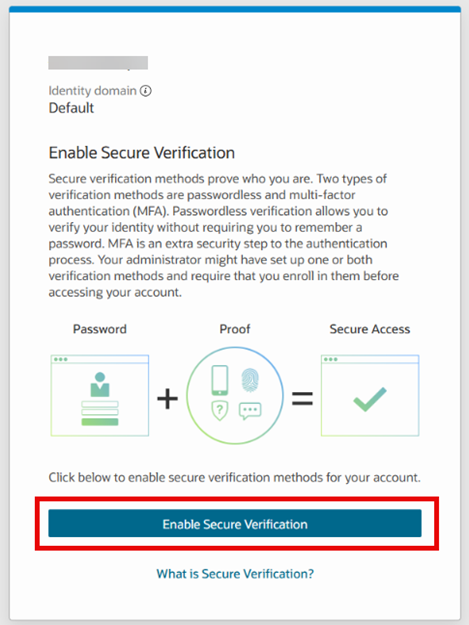
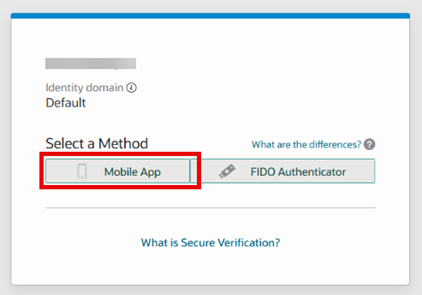
- Select your main MFA method - We shall select Mobile App
- Scan the QR code presented on the screen from your Oracle Mobile Authenticator
mobile application using the camera.
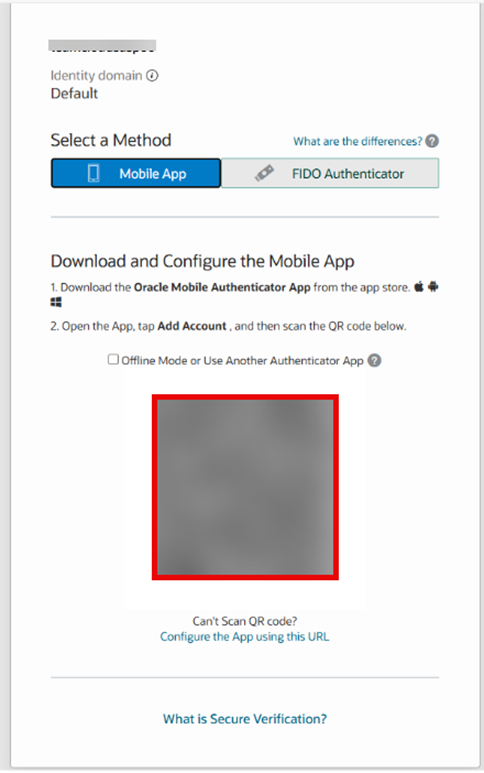
- In the Oracle Mobile Authenticator mobile application, select Add Account and scan the QR code presented on the screen of your browser.
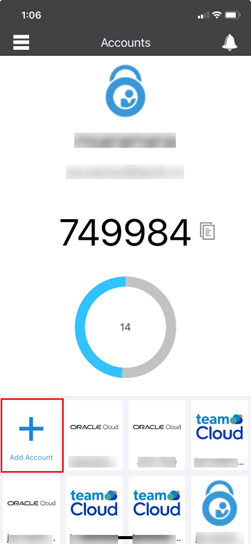
- After you have scanned the QR code, a new account is added to your App.
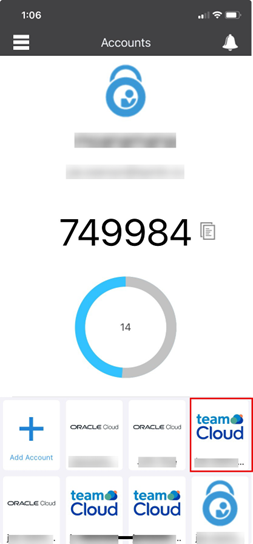
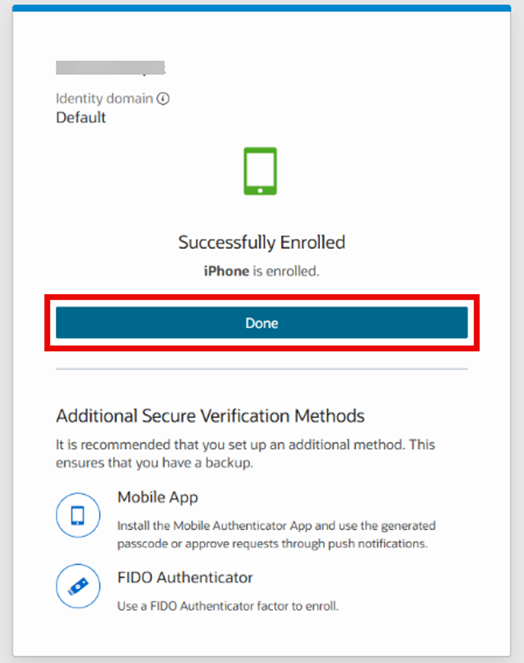
- After your account has successfully been added to your Oracle Mobile Authenticator mobile application for MFA, click Done.